Creating a Remote
The first step to setting up an orchestration remote is to create it in your SecureX orchestration instance. This gives you the configuration necessary to deploy the virtual appliance.
Note that the virutal machine's configuration cannot be easily modified after it is deployed. You can SSH or console into the Ubuntu host operating system, however, we do not support or document how to make configuration changes to the VM directly (with the exception of configuring NTP servers).
To create a new remote:
- Expand the main menu, click on Admin and then click on Remote Configuration.
-
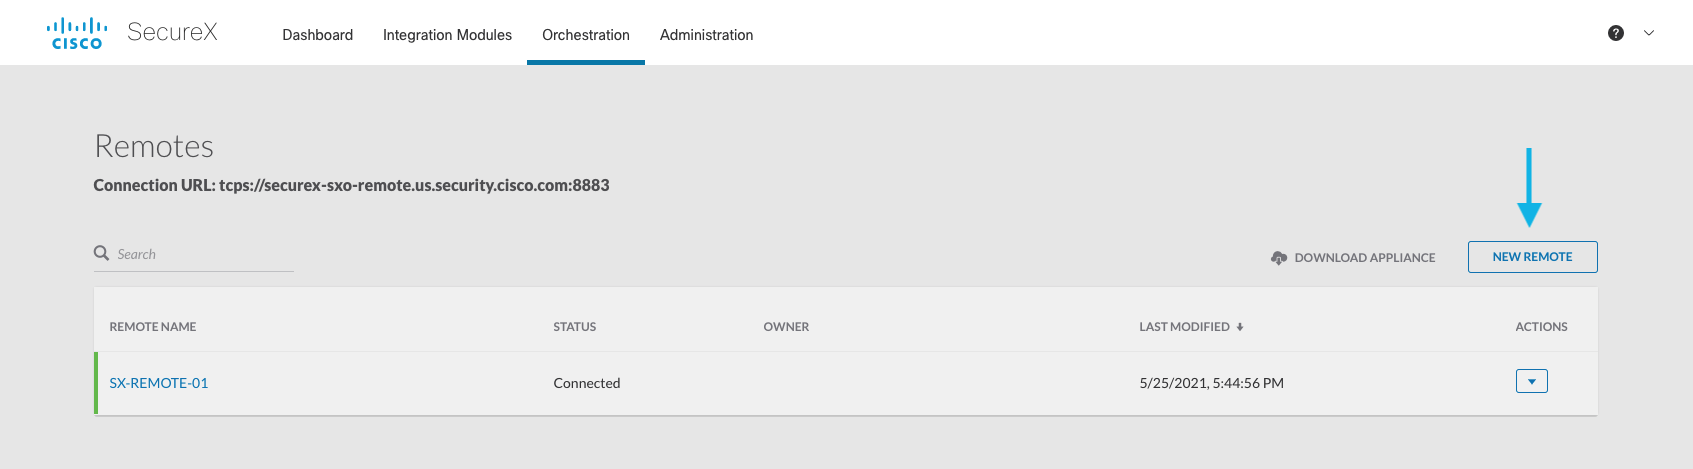
Click the New Remote button:
-
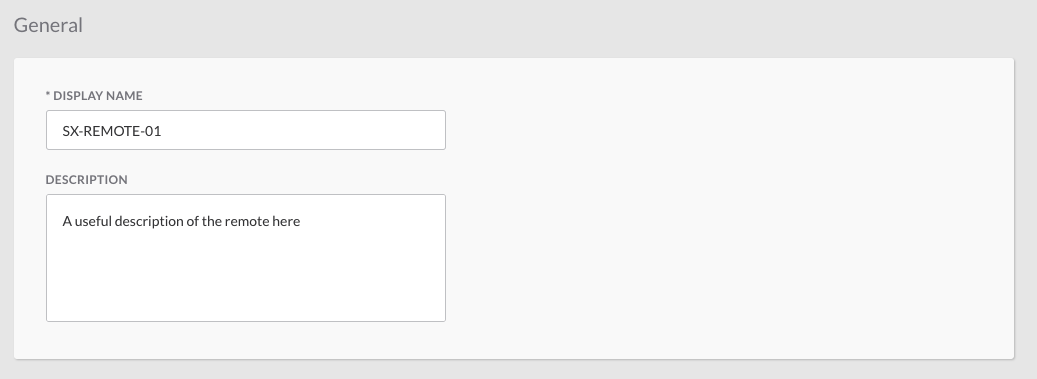
Provide the remote a meaningful Display Name:
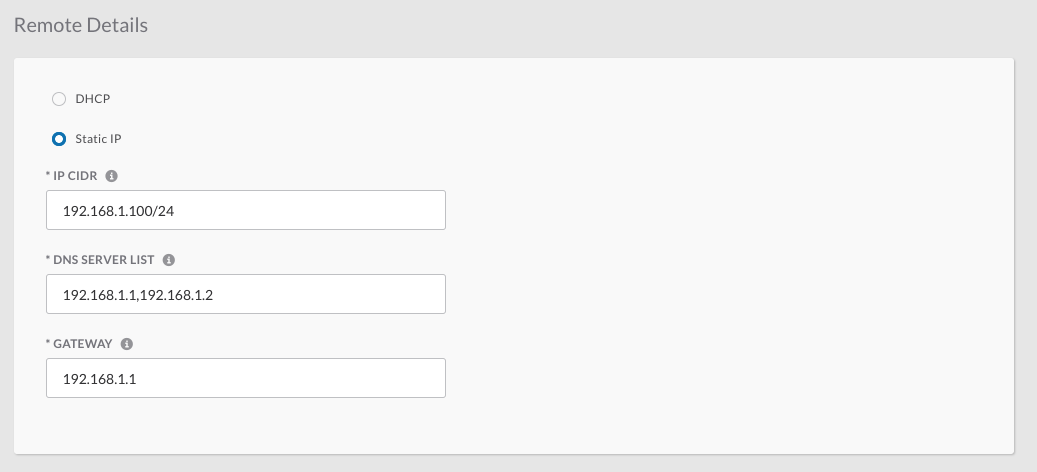
- Under the remote details section, select whether you want to use DHCP or a Static IP address for the virtual machine.
- If using a Static IP, provide the:
- IP address in CIDR notation (ex: 192.168.1.100/24)
- List of DNS servers (ex: 192.168.1.1,192.168.1.2)
- Default gateway (ex: 192.168.1.1)
- If using a Static IP, provide the:
- If a proxy is required for the remote to access the internet, set Requires Proxy to yes and provide the proxy address (only SOCKS5 proxies are supported).
- Click Submit.
Configuration Download
Now that the remote is created in orchestration, you can download the virtual machine configuration:
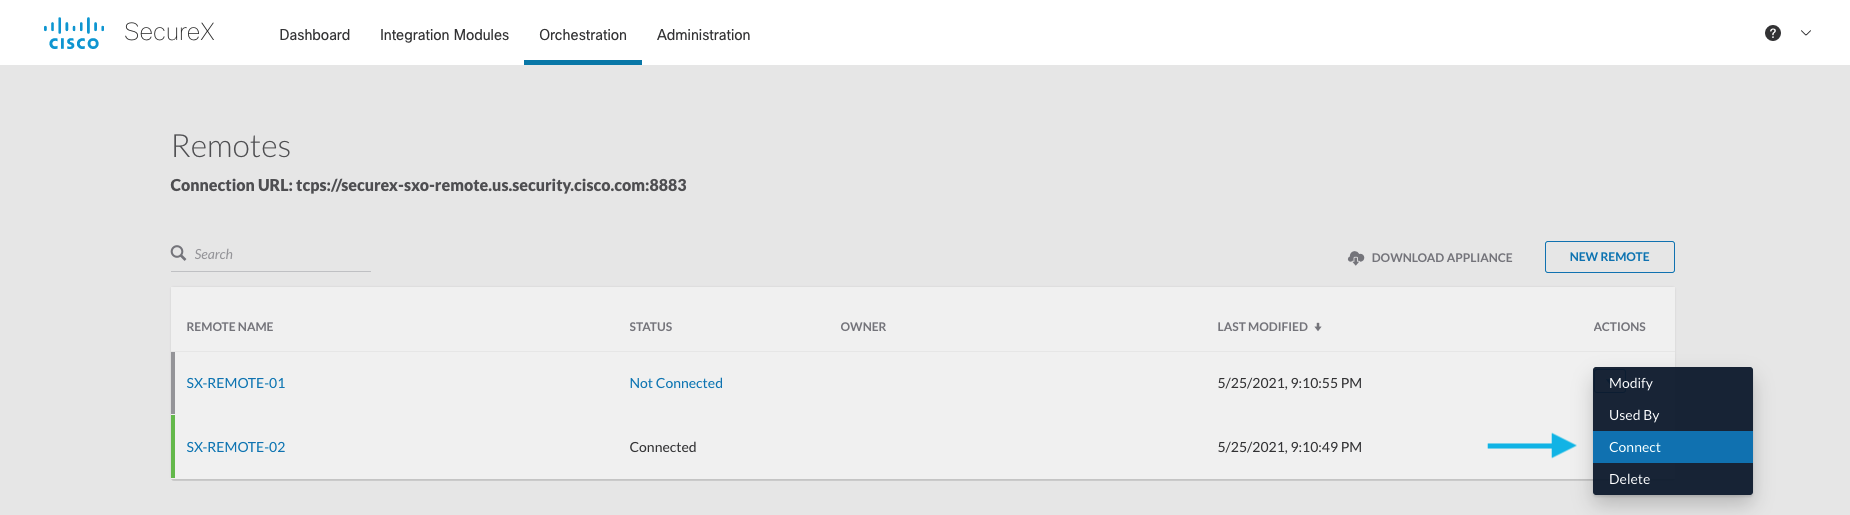
- Hover over the new remote you just created on the Remotes page.
-
Click the arrow button in the Actions column on the right:
-
Click Connect and then click the Generate Package button:
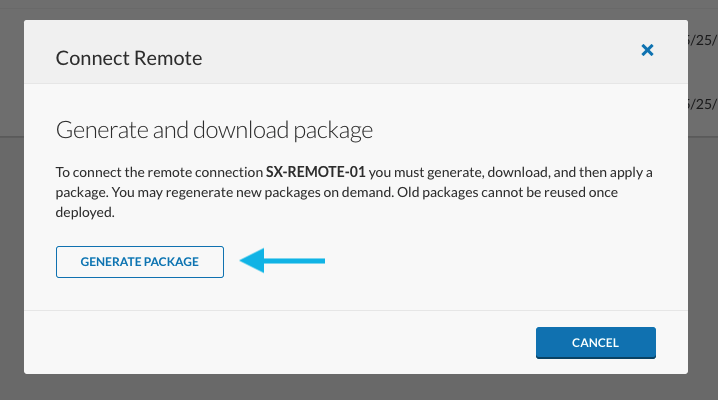
- A ZIP file with the remote’s configuration will be downloaded.
Next Steps
Now that you’ve created the remote in orchestration and downloaded the configuration bundle, you can proceed to virtual appliance setup.