Webhooks
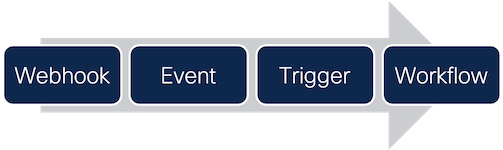
Webhooks allow you to push information from external platforms to orchestration workflows. Instead of your workflow having to reach out to an API to check for events, a webhook can be used to listen for incoming data and then trigger a workflow through an event when data is received.
A Note on Webhook Content Type Headers
SecureX orchestration is strict about the Content-Type header for incoming webhooks. If you don’t know which content type your webhook is using, you can use a service like RequestBin to find out. Here’s how:
- Go to RequestBin and you should see an endpoint URL like this:
https://enrszd3sz7aa.x.pipedream.net. - Configure the product you want to send webhooks from to send to the endpoint URL from step 1.
- Once the source product sends a webhook, it will show up in your RequestBin.
- Select the request in the list on the left and you should see the request details on the right.
- Expand the Headers list and look for the
Content-Type. - When creating your webhook in SecureX orchestration, be sure to select the same Request Content Type as your webhook.
- If your webhook did not provide a
Content-Typeheader, it probably won’t work with SecureX orchestration. You’ll need to contact support for the source product and see if they can add the header to their webhooks. - If the content type your webhook is using is not listed in orchestration, you’ll need to contact Cisco TAC and they can log a request for a new content type.
- If your webhook did not provide a
Creating a Webhook
When you create a webhook, you’ll be given an HTTP endpoint you can push events to. You can have a single webhook trigger a single workflow or a single webhook can trigger multiple workflows.
- Under the Events & Webhooks section, click the Webhooks tab.
- Click on the New Webhook button.
- Give the webhook a meaningful Display Name and then validate the Request Content Type. Content type options include:
application/jsonapplication/json; charset=utf-8application/x-www-form-urlencodedapplication/xml- Hint: See the section above about webhook content type headers.
- The webhook details will populate after the new webhook is created, so click the Submit button.
- Back on the webhooks page, click on the webhook you just created to view its details.
- Make note of the Webhook URL. This is the URL the source of the webhooks will push events to.
Adding a Webhook to a Workflow
Once you’ve created a webhook using the steps above, you need to do two things:
- Create an event that will be triggered when the webhook receives data.
- Add the event to your workflow as a trigger.
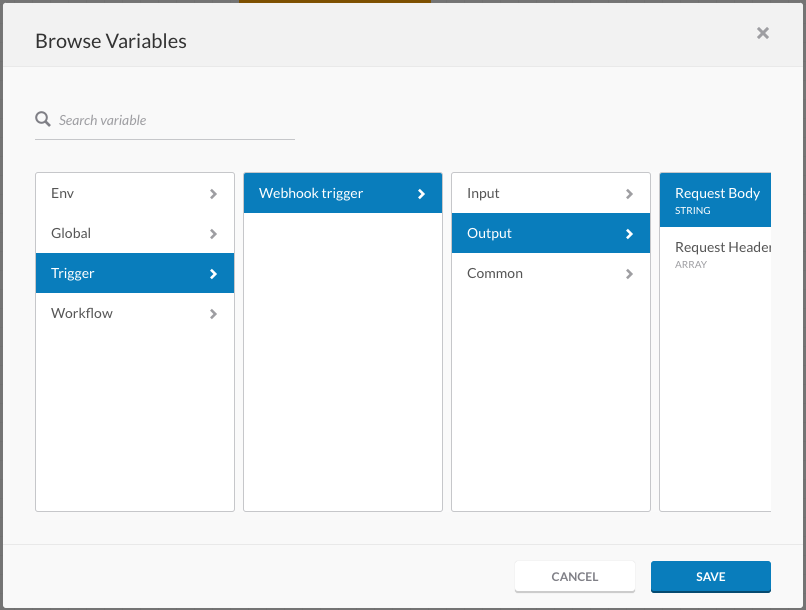
Once the workflow is configured with a trigger, you can use the trigger’s output variables in your workflow:
Triggering a Webhook
To trigger a webhook, you can either configure a source product to send events to the webhook’s URL or you can POST your own events using normal HTTP requests. Authentication is provided by the api_key in the URL and you must have Content-Type and Accept headers. A request body is not required but allows you to pass data to your workflow.
Sample Requests
Here’s a sample of a POST to trigger a webhook with no request body:
POST /webhooks/01MYFX09T0JZeDFNggAd92MlpAaWgoi?api_key=+61NtR8LBuYNMtBw6bdqwPAe8oGoIzjZuFxIXt/C8/MMfKE2R6d6WDppBLWWwYdywgMqInyClmAP7qN1ePi0H6vBFgHQIa5xnaT4P9iY++02X064s1+Q== HTTP/1.1
Host: securex-ao.us.security.cisco.com
Content-Type: application/json
Accept: application/json
Here’s a sample of a POST to trigger a webhook with a JSON payload:
POST /webhooks/01MYFX09T0JZeDFNggAd92MlpAaWgoi?api_key=+61NtR8LBuYNMtBw6bdqwPAe8oGoIzjZuFxIXt/C8/MMfKE2R6d6WDppBLWWwYdywgMqInyClmAP7qN1ePi0H6vBFgHQIa5xnaT4P9iY++02X064s1+Q== HTTP/1.1
Host: securex-ao.us.security.cisco.com
Content-Type: application/json
Accept: application/json
Content-Length: 85

{
    "key": "value",
    "list_of_stuff": [
        "item1",
        "item2"
    ]
}
Sample Response
If your request was accepted by SecureX orchestration, you will get an HTTP 202 Accepted response with no body. Not working? See the troubleshooting section below.
Troubleshooting
-
Webhooks will not accept a request body larger than 1 MB.
-
If your webhook responds with an HTTP status code of
429, you may be sending too many webhooks and hitting a rate limit. Webhooks are limited to 5,000 executions per day and up to 5 executions per minute. -
If your webhook doesn’t trigger or behave as expected, check these things:
- The webhook URL is correct, including the
api_key. - The HTTP request type you’re using is a
POST. - The
Acceptheader is set toapplication/json. - The
Content-Typeheader is set to an acceptable value (see above). - The webhook is used by an event and you’ve added the event as a trigger to a workflow.
- The workflow being triggered is in a valid state (the validation button should say Validated in the workflow editor’s blue bar).
- The webhook URL is correct, including the